| By Chicken One - In a pan on the stove (as Nature intended): Right from the beginning of this chicken project the idea has been to try new things. And at least two ways. Therefore, I was very excited to try poaching an egg for the first time. I don't really care for eggs, but I felt poaching some of them would be a real challenge. Of course I'd seen Julia do it a number of times on video, so it gave me a basis of what to expect. The other Chicken and I stocked up on a couple of dozen and printed out some wonderfully detailed directions from one of my idols, Alton Brown. I first brought one inch of water, a pinch of salt and two teaspoons white vinegar to a simmer over medium heat. It's important to not boil the water, by the way. Then I cracked one really cold egg into a nifty little bowl (Chicken Two - the younger, prettier one - has a huge inventory of every ceramic shape imaginable) with a pour spout. I gently stirred the simmering water with the handle of a wooden spoon to create a gentle whirlpool. Then I gently poured the egg into the middle of the pan. Did I mention that all this should be done gently?    After the timer startled us out of staring at the egg, I removed the lid.  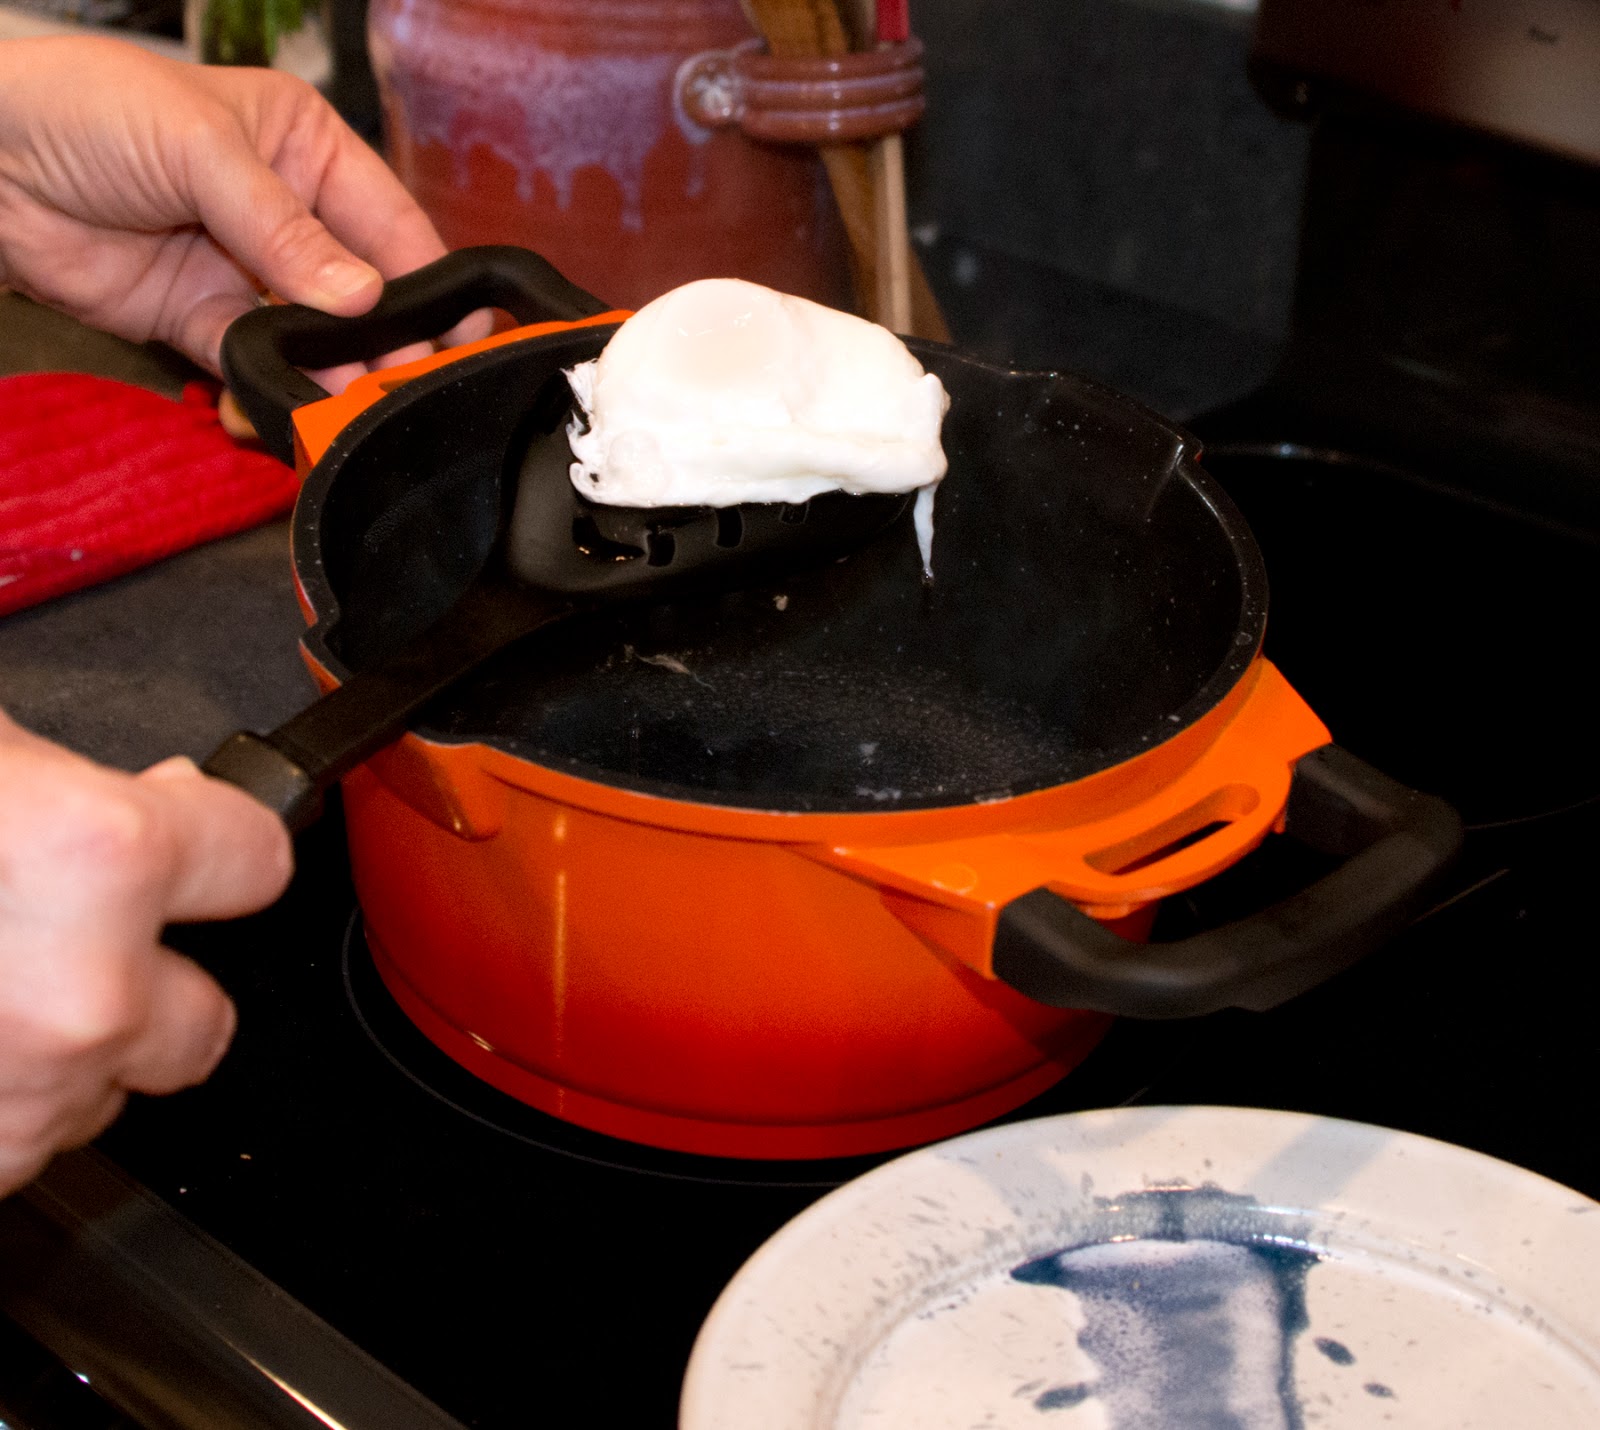
Perfectly poached eggs should have thoroughly cooked whites and a runny yolk. I held my breath and the camera as Chicken Two sliced my first poached egg in half. The moment of truth:
   | By Chicken Two - In the microwave: Like Chicken One, I was also intimidated by the very idea of poaching an egg. Kinda silly for two people who can turn out a delicious leg of lamb, make their own pasta and concoct all sorts of wonderful variations of pizza! I watched with great anticipation (and patience) while she carefully maneuvered that egg around and, granted, it was sheer perfection. But it took way too long for me! I don't know about you, but when I want breakfast, I'm usually in a hurry so I needed to find a faster way. Enter a rather inexpensive tool called the Microwave Egg Poacher! It's microwave, right? It should be faster, right? Hmmm….  First, read the directions!  Then break the egg and gently empty the shell into the holder.  It holds two eggs, so you can make one for your honey too!  Then carefully puncture the yolk. If you don't do that, the yolk will explode - trust me - I know!  Cover with the provided lid and insert into the microwave oven, and set at 1 minute.    The resulting egg looked beautiful. Well formed, thoroughly cooked and soft on the outside. However, the inside, though soft, was not runny. Foiled!  Here's how it looked when cut open. Some folks actually prefer a less runny egg, so this 1 minute setting will work for them. However, Chicken #1 challenged me - yeah, we get a little competitive - to make the perfect egg so I kept playing with the microwave settings. 45 seconds, 40 seconds, 35, 30 - you get the idea! A dozen eggs later, except for the nearly raw one, the inside continued to be less soft than the "perfect" poached egg. I guess the moral of this story is, you sacrifice perfection for speed. It WAS faster (unless you count the times I repeated the process), but nothing beats slow, steady, old fashioned cooking! |

Thursday, June 18, 2015
Poached Eggs, Two Ways
Subscribe to:
Post Comments (Atom)
No comments:
Post a Comment